
So a while ago, I made a promise to myself not to start any more projects before I finish the ones I've already got going. And the one that'd been sitting around the longest was the damn LED spider that I'd been meaning to make a simple USB interface for.
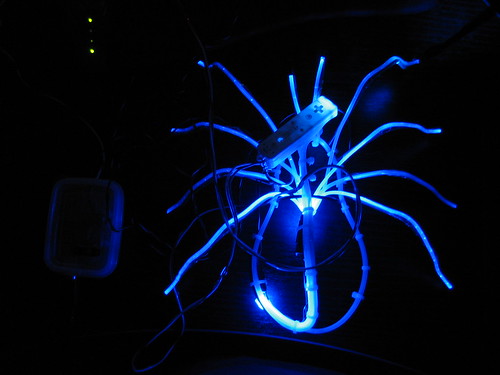
Thanks to swag from GDC, LED Spider now has an LED Wiimote to play with! So yeah, they're just two silly things involving blue LEDs, but I figured I might as well hook up whatever I have around that has LEDs in it to this thing since USB can provide the power for more of these than is ever necessary. Hence the new name of the project, "LED Casserole". I'll just keep hooking up whatever I find to this box until the board gets full.
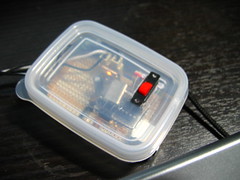
One of the interesting things about this project is the project box I used. I had black "project boxes" of all types lying around that I've gotten from different electronics stores, all of which are usually <1cm to large/small in some direction to be truly useful, and all of which cost at least $5. I packaged this board in a little plastic box from Ichiban Kan in El Cerrito. Incredibly simple to cut up with my Dremel, and @ $1.50/4 boxes, I can fuck 'um up all I want. And they've got all sorts of sizes, nothing more than $2. Realized this technique after checking out some stuff from a Japanese electrostim builder on SmartStim, and I have a feeling most of my projects are gonna come out looking like this now.
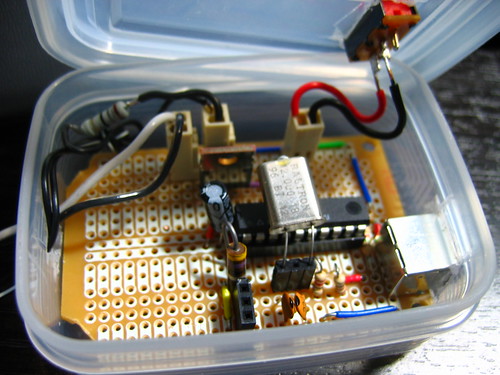
The circuit itself is simple. This is the exact board I was using for my 1-node ambilight which ended up not working due to massive noise problems. I'm building another version of that board, so I just stripped the extra MOSFETs off this one and left it with one line. The 50V/48A MOSFET as LED driver is probably a smidge much, but hey, it was already there and it worked.
This project also makes use of the nifty new molex friction lock connectors I got from Phoenix Enterprises. No more plugging in shit backwards! Yay!
The whole thing is powered off the USB line, the MOSFET just works as a simple switch for the LEDs. The switch on top turns the power to the lights on and off. Software is USBTiny with an extra CONTROL instruction that takes a single byte for setting the PWM.
Onto the next project!